Mastering The Art Of Fly Drawing: A Beginner's Guide To Creating Realistic And Stunning Insect Art
Alright folks, let me tell you something straight up—fly drawing is not as easy as it looks. You might think, "Hey, it's just a tiny bug, how hard can it be?" But trust me, these little creatures have some serious complexity packed into their miniature bodies. From their intricate wings to their multifaceted eyes, every detail counts when you're trying to bring a fly to life on paper. And that's exactly why we're here today—to break it down step by step so you can master the art of drawing flies like a pro.
Now, before we dive into the nitty-gritty, let's talk about why learning fly drawing is worth your time. First off, flies are fascinating little critters with a ton of unique features that make them a great subject for artists. Plus, once you nail the basics of fly anatomy, you'll be able to apply those skills to other insects and even larger animals. It's like leveling up your artistic abilities, one tiny wing at a time.
So, whether you're a complete beginner or an experienced artist looking to refine your insect-drawing skills, this guide has got you covered. We'll be covering everything from understanding fly anatomy to adding those final touches that make your drawings pop. Let's get started, shall we?
- Is Lady Gaga Transsexual Unveiling The Truth Behind The Rumors
- Download The Movies For Free Your Ultimate Guide To2151227861 Streaming And Downloading
Understanding Fly Anatomy: The Foundation of Fly Drawing
Breaking Down the Basics of Fly Structure
Alright, let's start with the basics. Before you even pick up a pencil, it's crucial to understand the anatomy of a fly. Think of it as building a house—you need a solid foundation before you can start decorating. Flies may be small, but they have a lot going on under the surface. They have three main body parts: the head, thorax, and abdomen. Each of these sections plays a vital role in the overall structure of the fly.
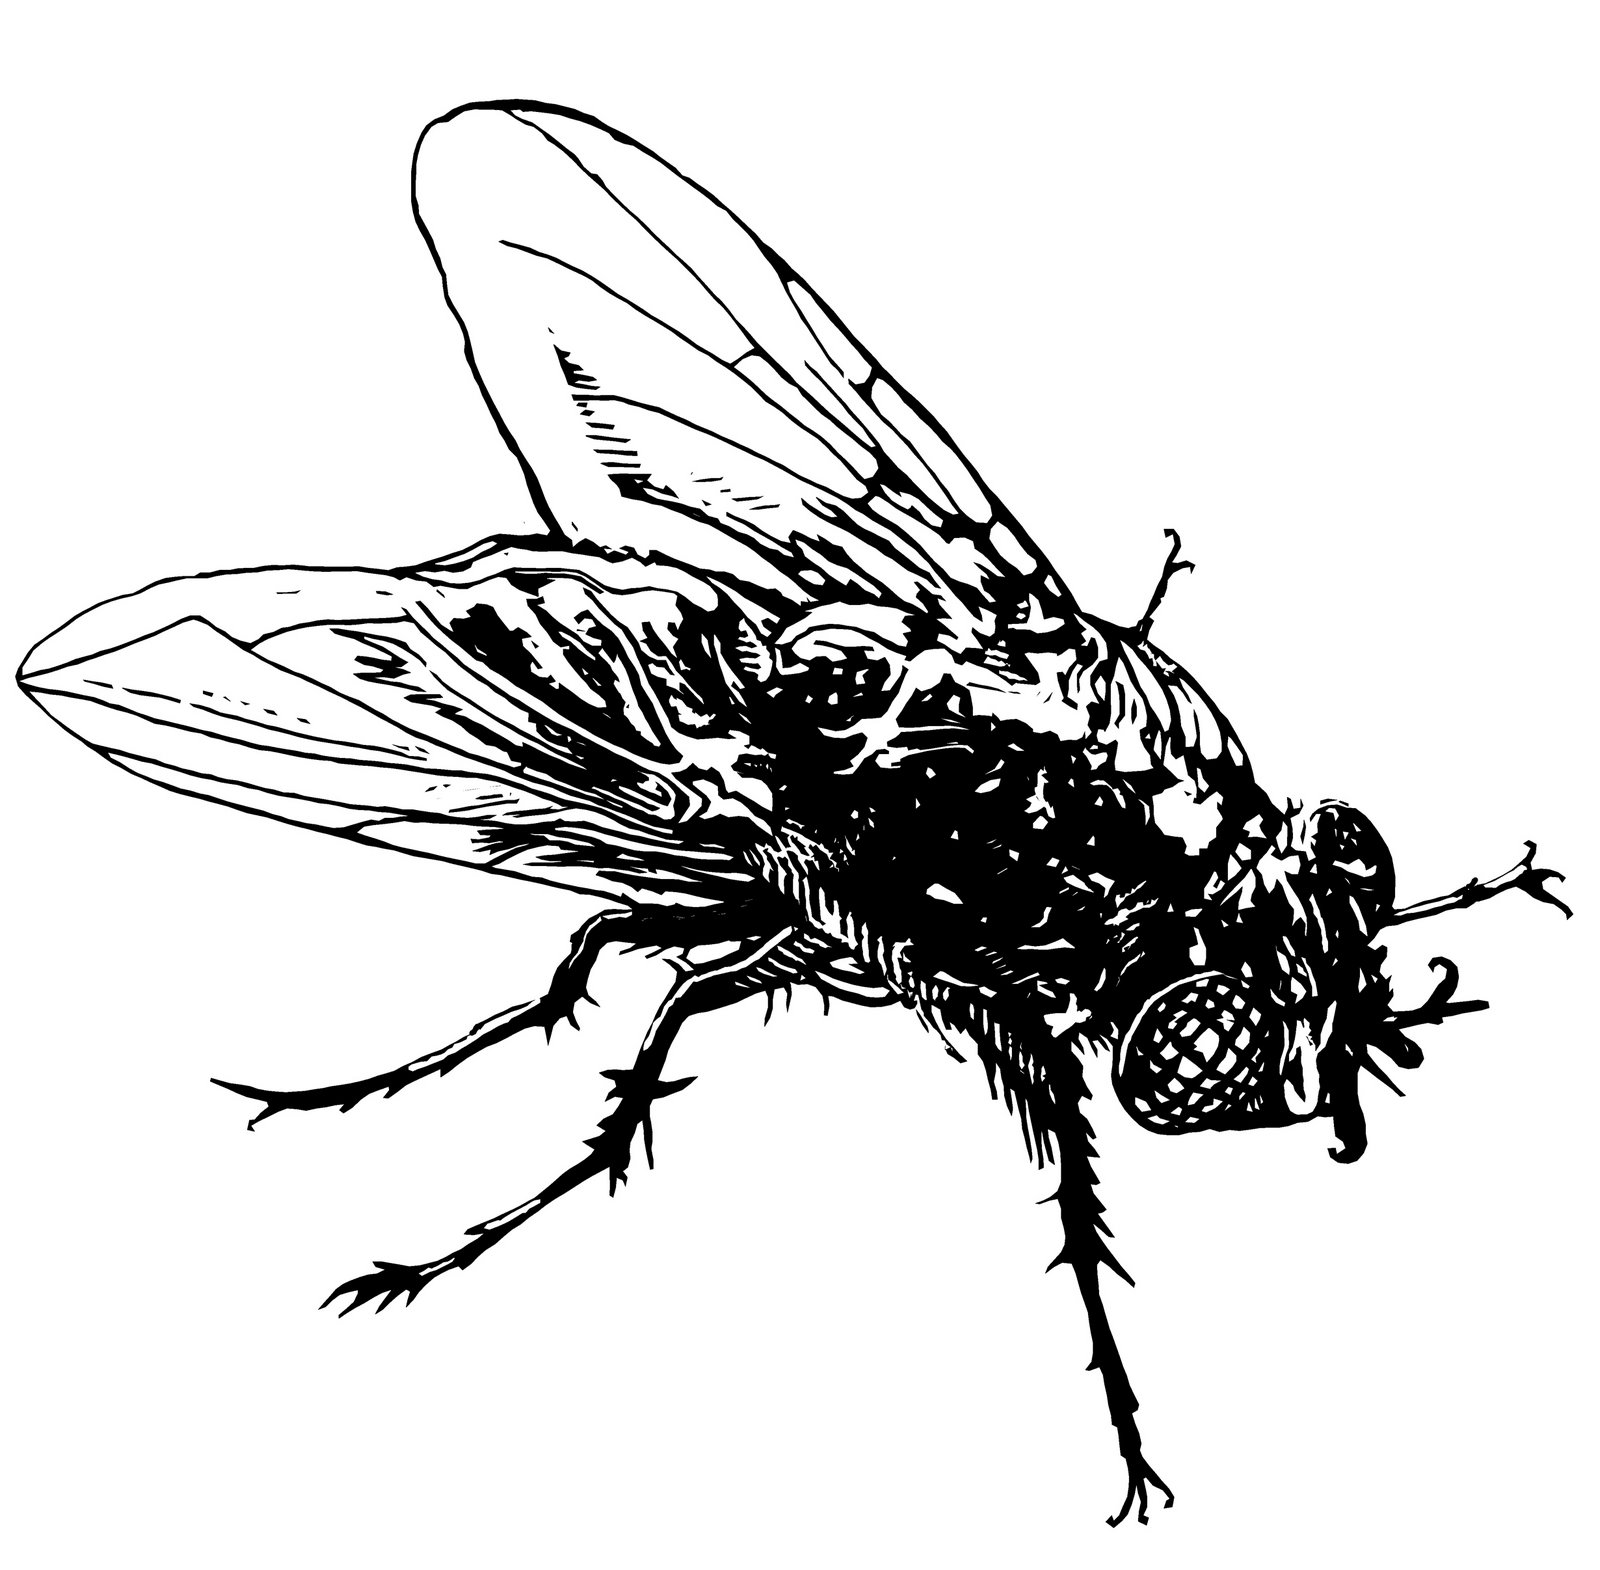
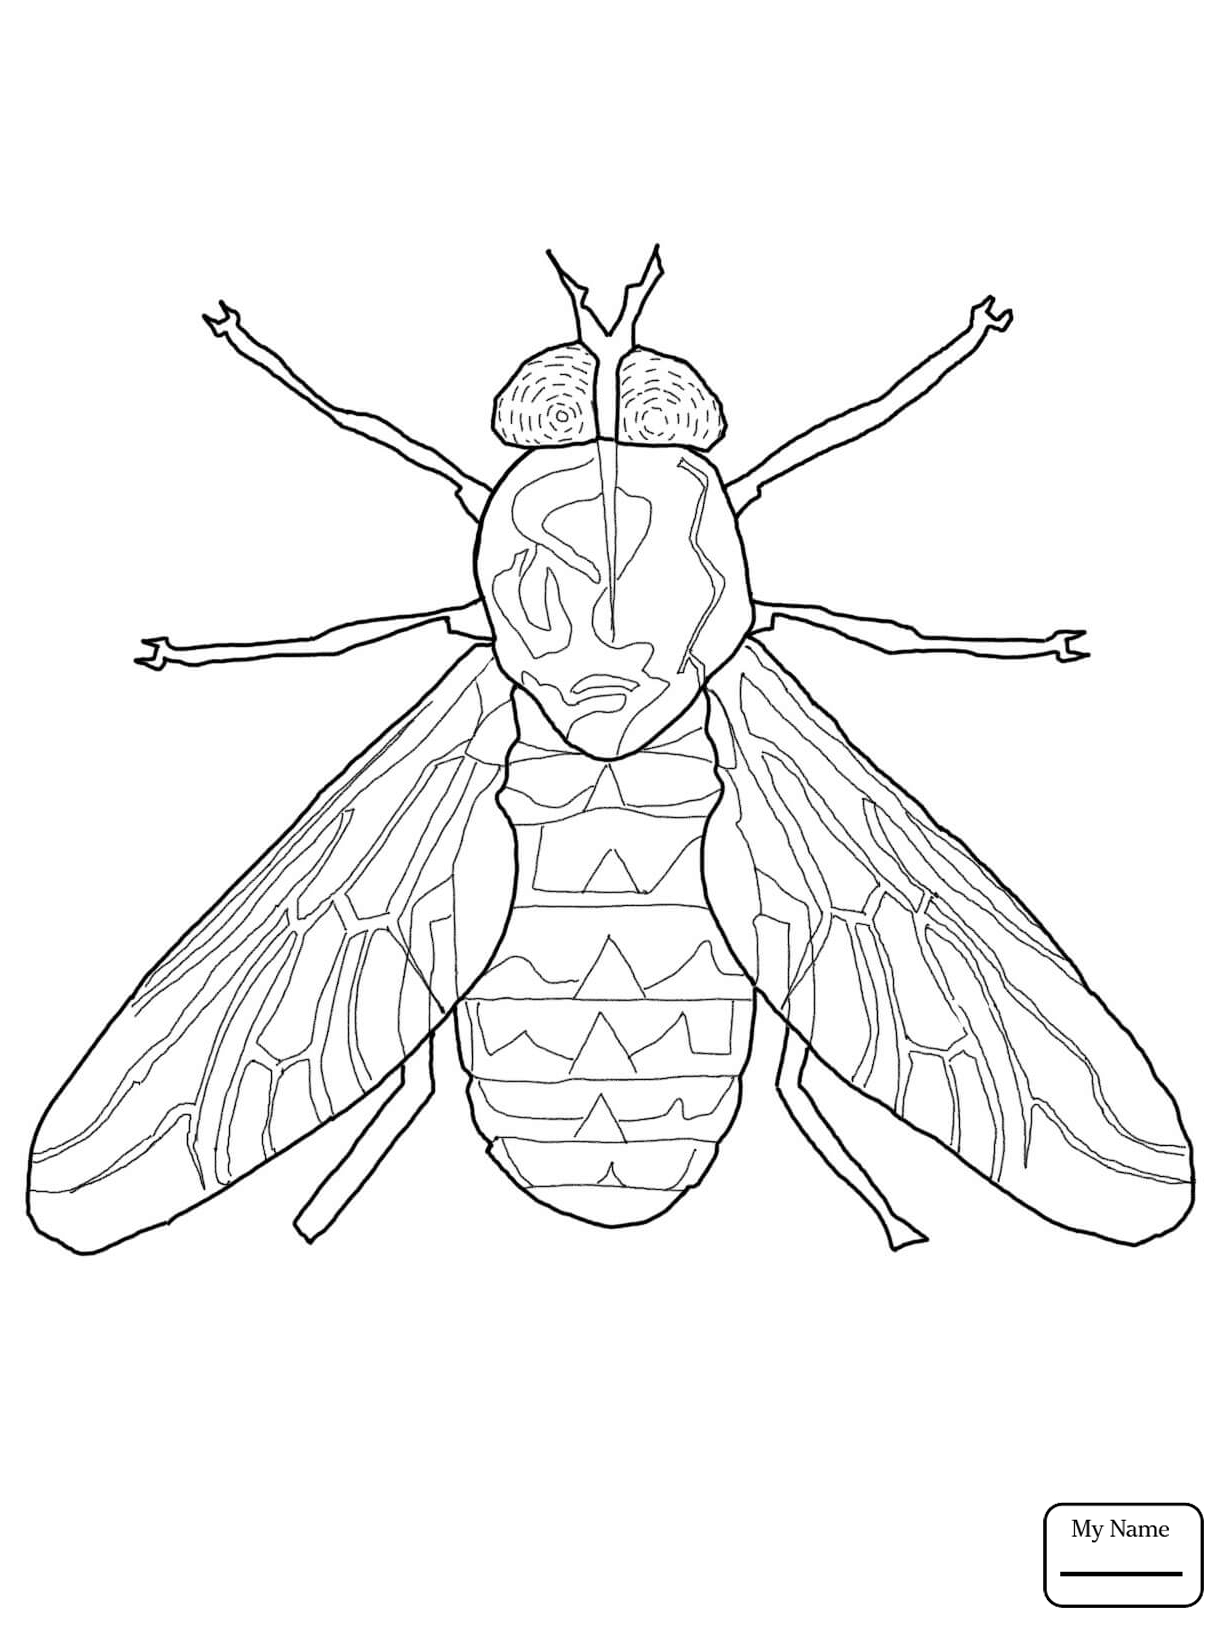
The head is where all the action happens when it comes to sensory perception. It houses the compound eyes, which are made up of thousands of tiny lenses, giving the fly a nearly 360-degree field of vision. Then there are the antennae, which help the fly detect smells and vibrations in the air. And let's not forget the proboscis, the fly's specialized mouthpart used for feeding. All these elements need to be considered when you're drawing a fly.
Key Features to Focus On
When it comes to fly drawing, there are a few key features you'll want to pay extra attention to. First up, those magnificent wings. Flies have two pairs of wings, but only the front pair is fully developed. The hind wings are reduced to small, club-like structures called halteres, which help the fly maintain balance during flight. Getting the shape and texture of the wings right is crucial for creating a realistic fly drawing.
- Arielle Kebbel The Rising Star Who Captures Hearts On And Off Screen
- Howie Mandel Death Debunking The Rumors And Celebrating A Legend
Another important feature is the fly's body segmentation. The thorax is where all the action happens when it comes to movement. It houses the fly's powerful flight muscles and is divided into three segments, each with its own set of legs. The abdomen, on the other hand, is where the fly stores its internal organs and is typically segmented into ten visible parts. Understanding these segments and how they relate to one another will help you create a more accurate and lifelike fly drawing.
Choosing the Right Tools for Fly Drawing
Essential Art Supplies for Insect Artists
Now that you've got a grasp on fly anatomy, it's time to talk about the tools of the trade. Having the right art supplies can make a huge difference in the quality of your fly drawings. First off, you'll need a good set of pencils. I recommend starting with a range of graphite pencils, from 2H for light sketching to 6B for those deep, rich shadows. This will give you the flexibility to create a wide range of tones in your drawings.
In addition to pencils, you'll want to invest in a high-quality eraser. A kneaded eraser is great for lifting graphite without damaging the paper, while a precision eraser can help you make fine adjustments to your drawing. And don't forget about your paper! Look for a smooth, heavyweight drawing paper that can handle a lot of erasing and layering without tearing.
Advanced Tools for Taking Your Fly Drawing to the Next Level
If you're ready to take your fly drawing skills to the next level, there are a few advanced tools you might want to consider. A lightbox can be incredibly helpful for tracing and refining your sketches. It allows you to see through multiple layers of paper, making it easier to correct mistakes and add details. Another great tool is a set of blending stumps, which can help you create smooth transitions between light and dark areas in your drawing.
For those of you who prefer digital art, there are plenty of options available as well. Tablets like the iPad Pro or Wacom Cintiq offer a lot of flexibility and precision, allowing you to experiment with different brushes and textures. Plus, with digital art, you can easily undo mistakes and make adjustments without having to start over from scratch. Whatever tools you choose, the most important thing is to find what works best for you and your style.
Step-by-Step Guide to Fly Drawing
Getting Started: Sketching the Basic Shape
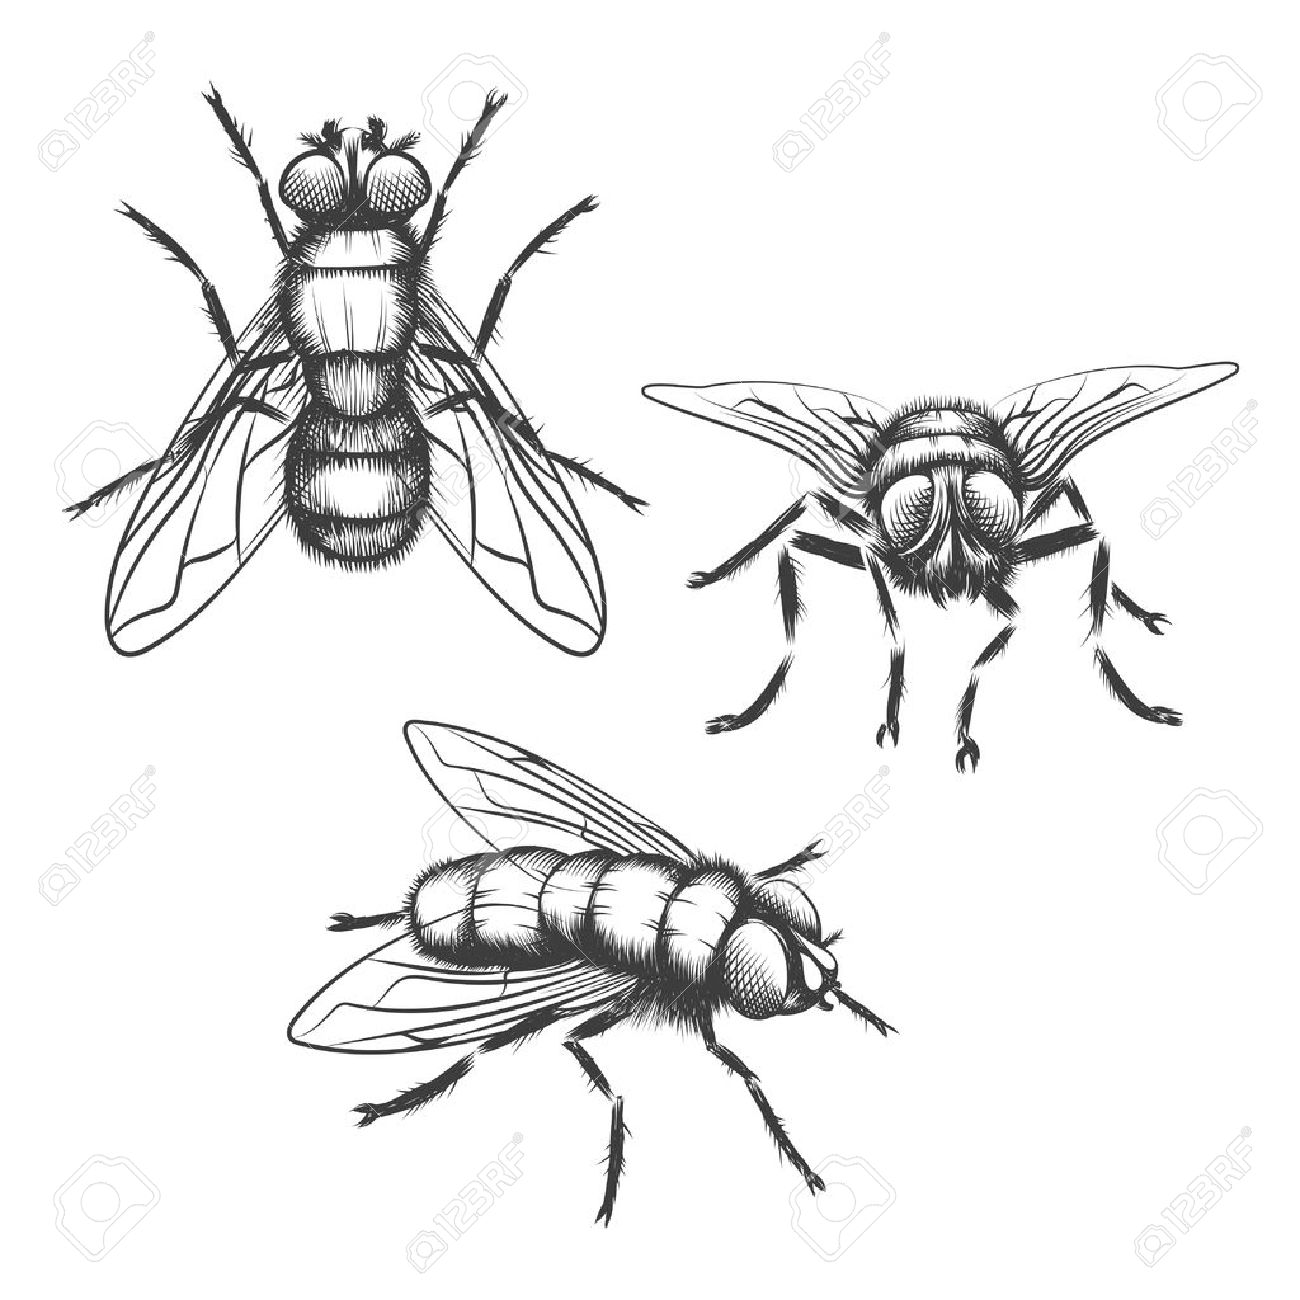
Alright, let's put all this knowledge into practice. The first step in fly drawing is sketching out the basic shape of the fly. Start by drawing a simple oval for the body, followed by a smaller circle for the head. Then, add two lines extending from the thorax for the wings. Don't worry about getting everything perfect at this stage—this is just a rough outline to guide you as you add more details.
Once you've got the basic shape down, it's time to start adding the finer details. Begin by sketching in the compound eyes, making sure to include the individual lenses that give them their distinctive look. Then, add the antennae and proboscis, keeping in mind their relative sizes and positions. Finally, refine the shape of the wings, paying attention to their transparency and texture.
Adding Details: Bringing Your Fly to Life
With the basic structure in place, it's time to start adding those all-important details that will bring your fly to life. Start by shading in the body, using a range of tones to create depth and dimension. Pay attention to the segmentation of the thorax and abdomen, and try to capture the texture of the fly's exoskeleton. Then, move on to the wings, carefully rendering the veins and other structural elements.
Don't forget about the legs! Flies have six legs in total, each with its own unique structure and function. Take your time with these, as they can add a lot of character to your drawing. And finally, give your fly some personality by adding a few expressive touches to the face. Maybe give it a sassy look or a mischievous grin. After all, flies are full of character, and your drawing should reflect that.
Tips and Tricks for Mastering Fly Drawing
Common Mistakes to Avoid
Even the best artists make mistakes, and fly drawing is no exception. One common mistake is not paying enough attention to the fly's proportions. It's easy to get carried away with one feature, like the eyes or wings, and end up with a drawing that looks a little off. To avoid this, take your time and double-check your proportions as you go.
Another mistake to watch out for is over-detailing. While it's important to include the right level of detail, too much can make your drawing look cluttered and overwhelming. Try to strike a balance between realism and simplicity, focusing on the key features that define a fly.
Advanced Techniques for Adding Realism
If you're looking to take your fly drawing to the next level, there are a few advanced techniques you can try. One is cross-hatching, a shading technique that involves layering lines in different directions to create depth and texture. Another is stippling, where you use tiny dots to build up tone and shadow. Both of these techniques can help you create a more realistic and dynamic fly drawing.
Another great technique is using reference photos. By studying real flies in action, you can get a better understanding of their movements and behaviors, which can inform your drawing. Just be sure to use high-quality images and give credit where it's due. After all, there's nothing wrong with learning from the best!
Exploring Different Styles of Fly Drawing
Realistic vs. Abstract: Finding Your Style
When it comes to fly drawing, there's no one right way to do it. Some artists prefer a hyper-realistic approach, striving to capture every detail with precision and accuracy. Others take a more abstract approach, focusing on the fly's essence rather than its physical appearance. The key is to find a style that resonates with you and your artistic vision.
Realistic fly drawing can be incredibly rewarding, but it requires a lot of patience and attention to detail. On the other hand, abstract fly drawing allows for more creativity and experimentation, giving you the freedom to explore different shapes, colors, and textures. Whichever style you choose, remember that the most important thing is to have fun and let your personality shine through in your art.
Incorporating Fly Drawing into Your Artistic Practice
Once you've mastered the basics of fly drawing, there are endless ways to incorporate it into your artistic practice. You could try creating a series of insect drawings, each one focusing on a different species. Or, you could use flies as a starting point for more complex compositions, combining them with other elements to create a larger narrative.
Another idea is to experiment with different mediums. Try your hand at watercolor or ink, or even digital art if you're feeling adventurous. Each medium offers its own unique challenges and opportunities, allowing you to explore new techniques and styles. The possibilities are truly endless!
Conclusion: Embrace the Fly, Embrace the Art
Well, there you have it, folks—a comprehensive guide to mastering the art of fly drawing. From understanding fly anatomy to choosing the right tools and techniques, we've covered everything you need to know to create stunning insect art. Remember, practice makes perfect, so don't be discouraged if your first few attempts don't turn out exactly as you hoped. Keep at it, and before you know it, you'll be drawing flies that look like they could fly right off the page.
So, what are you waiting for? Grab your pencils, fire up your imagination, and let's get drawing! And don't forget to share your creations with the world. Whether it's on social media or in a local art show, there's nothing quite like the satisfaction of seeing your hard work appreciated by others. Happy drawing, and see you on the flip side!
Table of Contents
- Understanding Fly Anatomy
- Choosing the Right Tools
- Step-by-Step Guide
- Tips and Tricks
- Exploring Different Styles
- Conclusion
- Pink And P Diddy Connection The Untold Story Thats Got Everyone Talking
- Snoqualmie Pass Driving Conditions Your Ultimate Guide To Safe Winter Travel
Fly Drawing Skill
House Fly Drawing at GetDrawings Free download
The best free Fly drawing images. Download from 775 free drawings of
